
Blog News
EBMX XTA-60 Motor Installation guide for Talaria MX3 / MX4 / MX5
Oct
EBMX XTA-60 Motor Installation guide for Talaria MX3 / MX4 / MX5
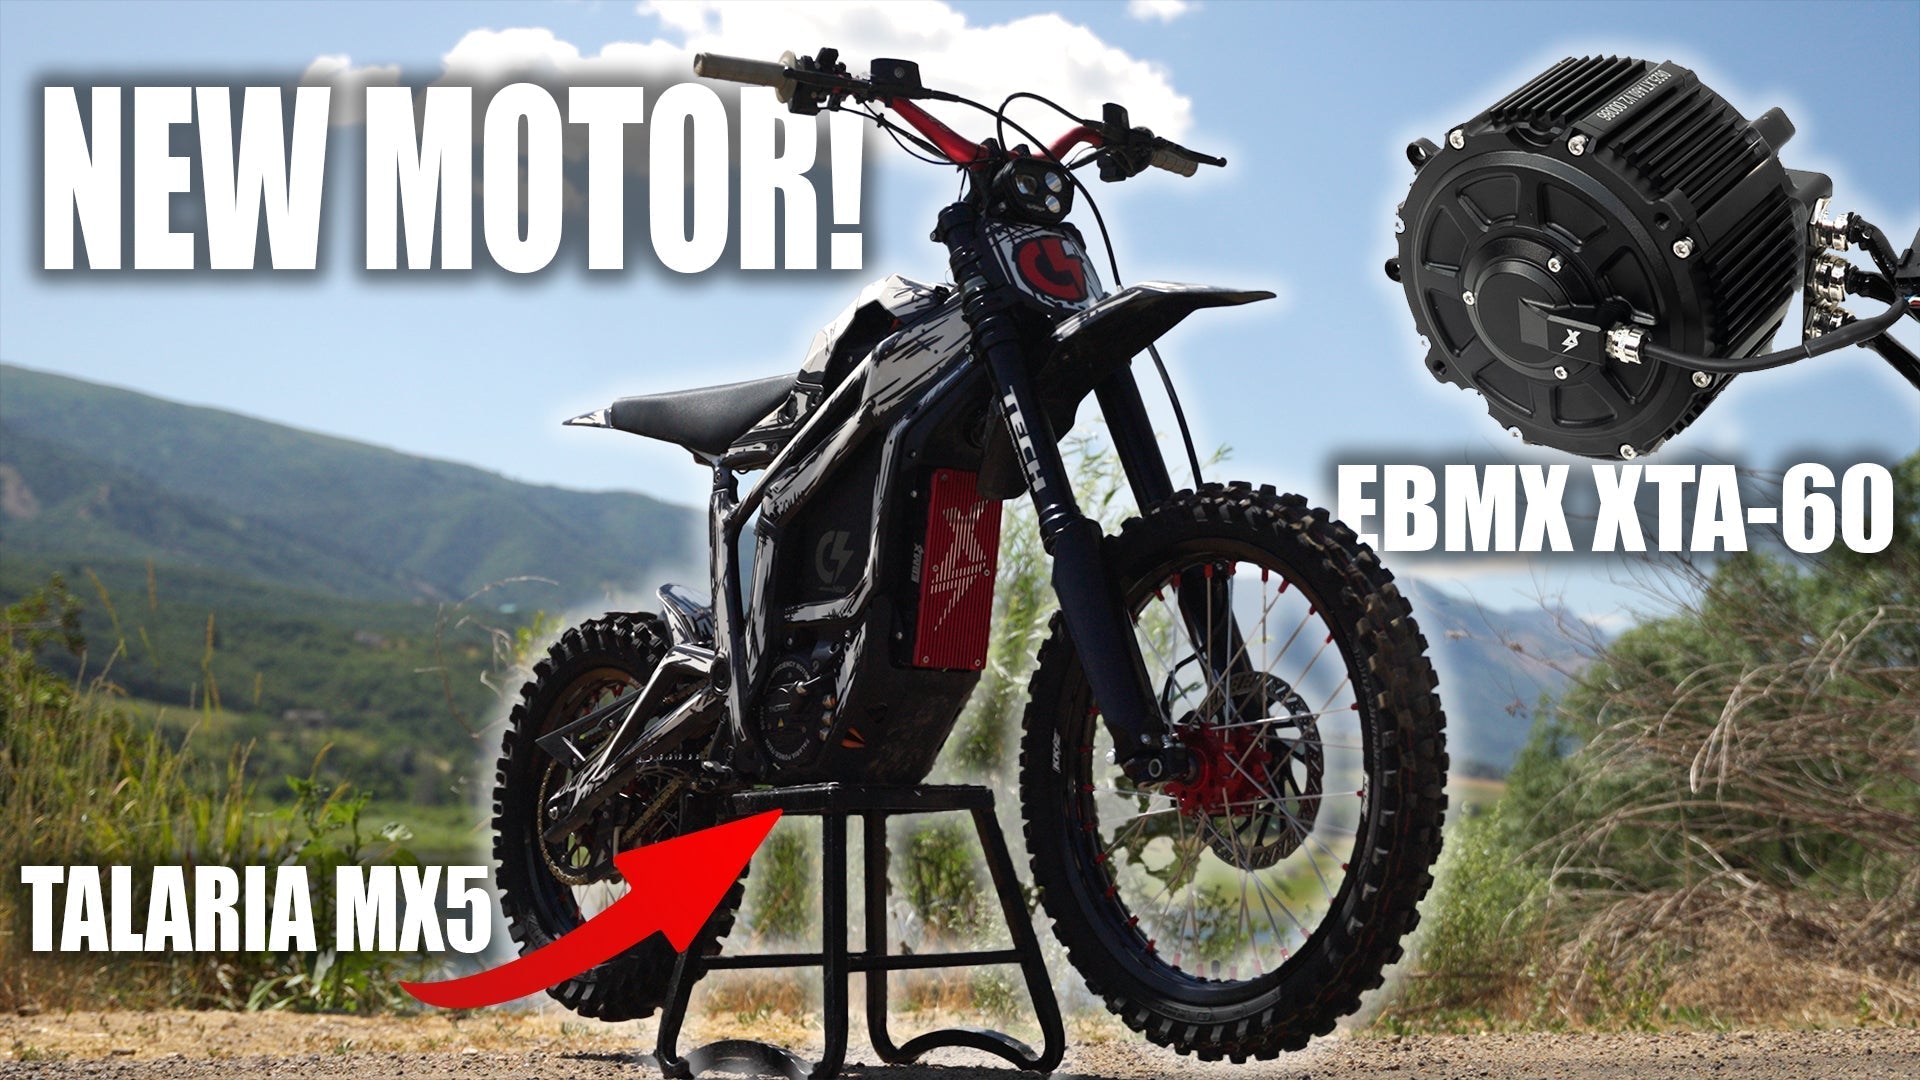
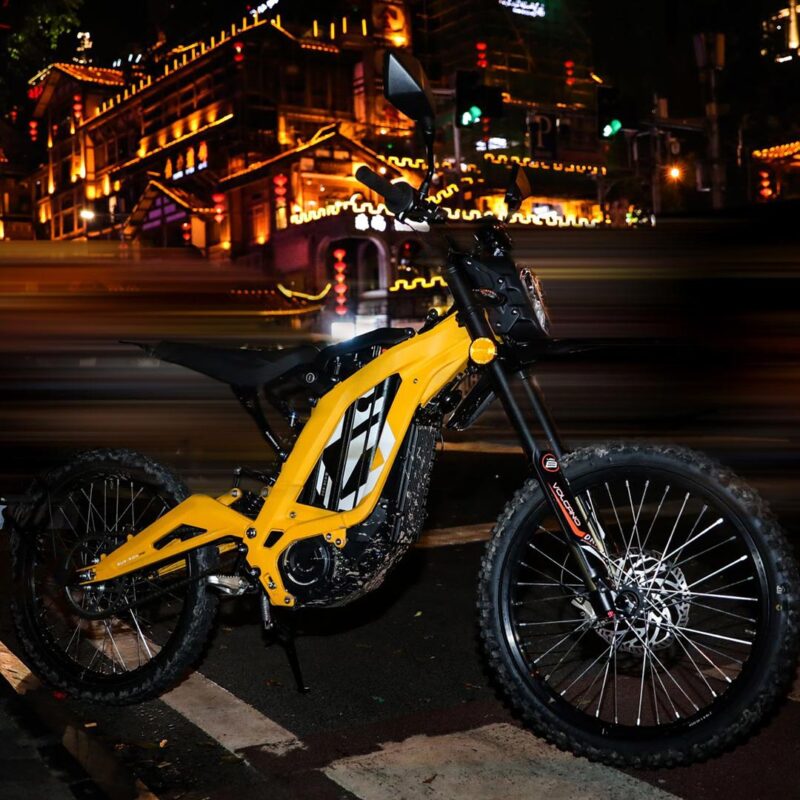
The EBMX XTA-60 is here for the Talaria Electric Dirt Bike lineup! This motor has some incredible features that are going to transform how your Talaria rides and feels.
EBMX XTA-60 Specs:
- Stator: 55mm
- Power: 40kW Peak under load testing at 90V and 1000 phase amp
- Real-World Results: 35kW on a 72V battery with 16 inch rear wheel and 42T sprocket
- Max Rated RPM: 12,000 Rated RPM
- Recommended Off Road Gearing:
- 18″ – 48t sprocket
- 16″ – 42t sprocket
- Warranty: 2 Years
Purchase Here: EBMX XTA-60
For Talaria MX5 an additional installation kit is required: Installation kit
Video Guides:
Full Talaria MX5 Installation Video Guide:
Full Talaria MX3 / MX4 Installation Guide:
EBMX XTA-60 Motor Install on a Talaria MX5 (Step-by-Step)
Upgrading your Talaria MX5 with the EBMX XTA-60 motor is a serious performance jump—and it’s straightforward if you follow the steps below. This guide walks you through prep, removal, installation, wiring, and final app setup.
Safety first
- Turn the key OFF, set the breaker to OFF (if equipped), and remove the battery before you start.
- Use a correctly rated circuit breaker or fuse. Do not bypass your BMS or fuse/breaker; doing so risks damage, fire hazards, and voids warranties.
- Do not use the OEM MX5 battery with the XTA-60. Use a high-performance aftermarket pack capable of ~400A battery current to prevent underperformance or damage.
Source: EBMX XTA-60 Motor Installation Guide (Talaria MX5) PDF.
What’s in the XTA-60 MX5 Kit
- Battery tray
- Gearbox vent plug (rubber cap)
- (5) M8 shims
- MX5 brace
- (2) brace spacers
- (2) M6 × 60 mm socket cap bolts
- (4) M6 × 12 mm mushroom/button head bolts
- DC converter spacer
- (1) M6 flat washer
- (1) M6 spring washer
- (1) M5 × 10 mm countersunk bolt
Tools You’ll Need (not supplied)
Metric hex keys/T-handles, 15 mm open-end wrench, T40 Torx + ratchet, snap-ring pliers, thread locker (blue or red), waterproof grease.
Pre-Install Checklist
- Key OFF, breaker OFF, battery removed.
- Familiar with removing Talaria battery lid (MX5 lid fully unhinges off).
- Confirm you have an aftermarket battery suited to XTA-60 requirements.
Part 1 — Strip-Down & Prep (Steps 1–12)
- Open the bike: Turn key OFF, unlatch and remove battery lid, flip breaker OFF (if equipped).
- Remove the battery (OEM pack shown in the manual is not sufficient for the new motor).
- Hinge the skid plate down: Remove the two upper skid-plate bolts (save them).
- Remove horn cover: Take out the three bolts (save them).
- Unbolt the controller: Remove four controller mounting bolts/spacers (save them).
- Support the controller (X-9000): Place it on a box/stand; remove phase bolts (Blue/Yellow/Green) and save the bolts.
- Disconnect gearbox breather hose.
- Remove the chain: Take off the master link and slide chain off the front sprocket.
- Unplug the motor encoder connector.
- Unplug the 4-pin DC-converter connector and slide it through the sleeve carefully.
- Confirm controller remains supported—don’t strain the harness.
Part 2 — Remove OEM Motor/Gearbox & Battery Tray (Steps 13–19)
- Remove the two motor-to-frame bolts (these will not be reused).
- Loosen (do not remove yet) the rear gearbox pivot bolt/nut near the linkage (these will be reused).
- Remove two front gearbox brace bolts/spacers (save them). If you run the OEM beauty cover, remove it.
- Remove battery tray: Take out four tray bolts (not reused).
- Transfer the plastic support insert from the OEM tray to the new tray using the four OEM screws.
- Add the supplied 5th M5 countersunk bolt in the center for extra support.
- Pull the motor/gearbox out: Support the assembly, then slide out the loosened rear pivot bolt and remove the unit.
- Cap the gearbox vent with the supplied rubber plug to prevent oil loss.
Part 3 — Separate Sprocket & OEM Motor (Steps 20–26)
- Remove the snap ring with snap-ring pliers, then slide off the sprocket (both are reused later).
- Loosen/remove the six motor-to-gearbox bolts (not reused).
- Remove the four T40 brace bolts.
- They’re heavily thread-locked—apply heat if needed (keep heat away from bearings, bike, and battery).
- These four brace bolts are reused.
- Grease the gearbox spline shaft lightly with waterproof grease.
- Unbolt the DC converter (two bolts, not reused).
- Position the XTA-60 on the MX5 gearbox (loose fit for now).
Part 4 — Mount the XTA-60 to the Gearbox (Steps 27–33)
General install guidelines (critical):
- Use spring + flat washer on every bolt.
- Apply thread locker (blue = easier future removal; red = more permanent).
- Bolts thread into aluminum—do not over-tighten. A hand hex key/T-handle gives better feel than a socket.
- Loosely install four 20 mm bolts through the brackets as shown in the guide (orientation matters).
- Loosely install one 16 mm bolt as oriented in the guide.
- Mount the DC converter: Loosely install a 25 mm bolt with flat + spring washer on top and the large spacer underneath (supplied in the kit).
- Fit the supplied gearbox brace and spacers:
- Insert the two M6 × 60 mm bolts through spacers into the brace and start the nyloc nuts by hand.
- Refit the four OEM T40 brace bolts through the new motor support brace (use thread locker).
- Evenly tighten the six motor bolts into the aluminum case (thread locker on all).
- Tighten the four brace bolts (thread locker; don’t over-torque).
- Tighten the two 60 mm spacer bolts with a hex key + open-end wrench.
- Reinstall sprocket + snap ring; verify the ring seats fully in the groove.
Part 5 — Reinstall Assembly in the Frame (Steps 34–40)
- Lift the motor/gearbox into the frame and loosely install the OEM rear lower pivot bolt + nut.
- Front motor mounts: Use the supplied M8 × 16 mm bolts with spring + flat washers to loosely secure the motor to the frame.
- Upper mounts: Reuse the OEM motor mounting bolts + OEM spacers between frame and motor; add M8 shimsif there’s a gap.
- Tip: Thread all bolts by hand first. If a bolt won’t start, adjust alignment—don’t force it.
- Consider blue thread locker and check these fasteners regularly as part of maintenance.
- Install the new battery support tray with the four M6 × 12 mm button heads (two per side).
- Tighten all five motor mounting bolts (rear pivot + four frame bolts).
- Remove the temporary vent cap from the gearbox and reconnect the breather hose.
Part 6 — Chain, Controller, and Wiring (Steps 41–45)
- Reinstall the chain + master link; orient the clip with the rounded/closed end facing the chain’s travel so it won’t pop off in the guide.
- Reconnect X-9000 phase leads using the original bolts: Blue→B, Green→G, Yellow→Y.
- Tighten firmly; verify the lugs can’t move side-to-side. Use spring + flat washers on each. Blue Loctite recommended.
- Bolt the controller back on with the four saved bolts/spacers.
- Plug in the encoder and DC-converter connectors.
- Tuck connectors back into the protective sleeve; route phase cables carefully—avoid sharp bends.
Part 7 — Plastics, Skid Plate & Final Checks (Steps 46–48)
- Reinstall the horn cover with the three saved bolts.
- Hinge the skid plate up; confirm wiring isn’t pinched, then reinstall the two upper skid-plate bolts.
- Final fastener check: Verify every bolt you touched is snug (not over-tight).
- Reinstall the battery.
X-9000 App Setup (V3) & Initial Settings
- Install the “X-9000 X Series” app on your phone.
- Power the bike ON, open the app, tap Connect, and select your X-9000.
- Go to Settings → Firmware Download → Check for updates and apply any updates.
- Throttle page: Turn thumb throttle OFF if you won’t use it.
- Calibrate your twist throttle (Throttle page).
- Battery page: Select the correct series and battery model to match your aftermarket pack.
- Motor page: Choose EBMX XTA-60 as the motor type, then run motor calibration when prompted.
- If you see an orange triangle in the app or on the SW102T display, tap it for error details and follow the troubleshooting prompt.
Battery notes: Do not run the OEM battery. If your BMS trips, first lower field weakening. If needed, also lower battery amps.
Fastener Re-Use Map (Quick Reference)
- Reused:
- Controller mount bolts + spacers
- X-9000 phase bolts
- Rear gearbox pivot bolt + nut
- Four OEM T40 brace bolts
- Sprocket + snap ring
- Horn cover bolts
- Upper skid-plate bolts
- OEM motor mount bolts (used with OEM spacers and shims at the upper location)
- Not reused:
- Original two lower motor-to-frame bolts
- Four OEM battery-tray bolts
- Six OEM motor-to-gearbox bolts
- Two OEM DC-converter bolts
Optional: Gear Ratio Reference
The manual includes a Talaria MX3/MX4/MX5 gear-ratio chart and notes the stock tire diameter ~620 mm and stock 48T rear = ~9.15 gear ratio (see the chart on the last page). Use this when selecting sprockets to tailor acceleration vs. top speed.
You’re done!
Double-check all wiring, fasteners, and cable routing. With the app configured and no errors showing, you’re ready to ride your upgraded Talaria MX5 with the EBMX XTA-60.